Getting Started
Usually, a normal javascript validation rule used to check the syntax of email value is not enough to confirm that user provided email is valid and reachable. Emails syntactically correct can still be inexistent or poor in quality. QuickEmailVerification JavaScript Widget for email verification makes it possible to verify the email existence right before the user submits the form.
QuickEmailVerification JavaScript Widget is well suited in situations where a user does not have additional server side validations to check the validity of emails and application is solely relying on the javascript's email validation regex. Using QuickEmailVerification Javascript Widget is very easy and it requires very basic knowledge of HTML and JavaScript.
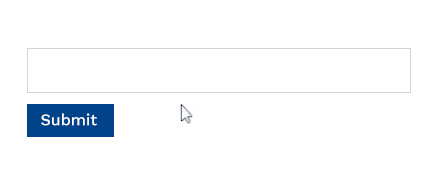
As shown below, a green tick in the textbox indicates the email is valid, while a red 'X' indicates the email is not valid.
Creating an app
To start using the widget, first, create an application. Go to the Apps page and click on the Create New Application button.
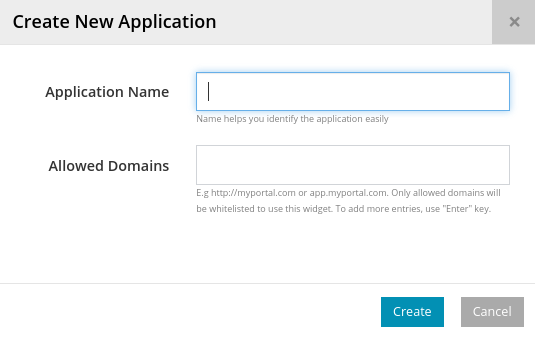
You will be asked to assign Application Name which will make it easy for you to identify the application.
The domains which are intended to use this widget should be added in the Allowed Domains. QuickEmailVerification will allow only requests from those domains that are allowed by the user. The allowed_domain setting does accept any valid domain name scheme or the IP address of your domain but it will ignore any trailing part of the domain name. If you wish to restrict your application specific to a subdomain only, you can enter subdomain value there and the application will accept requests generated from that specific subdomain only.
Click on the Create button and your application is ready to install.
Installation steps
Once an application is created, you will see a HTML code snippet for your widget. Copy the HTML code snippet given on the application page and put it just before the </body> tag of the page where you want to install the widget.
		<!-- keep widget installation code at the bottom of your web page -->
		<script>
		    QuickEmailVerification = {
				pubKey: "d7cc39g74c85b31646f293b8f8f437"
			};
		</script>
		<script type="text/javascript" src="https://cdn.quickemailverification.com/js/verifyemail.js"></script>

	<!-- body tag ends here -->
	</body>
</html>
You can check Options page to see the full list of configuration options available with QuickEmailVerification JavaScript Widget.
Detecting email fields
By default, the QuickEmailVerification JavaScript widget will detect all text input boxes having type="email" or name="email". If an email input box on your form does not have any of these attributes, you can add the data-qev-email-field attribute to your input box. Here is the list of examples showing how attributes are checked to auto detect the email field.
<input type="email" name="email-field" id="email-field" value="Enter your email" />
<input name="email" id="email-field" value="Enter your email" />
<input name="email-field" id="email-field" value="Enter your email" data-qev-email-field />
When the page is loaded, QuickEmailVerification widget will search for input box having any attribute mentioned above and bind the verification routines with it. Whenever a user enters a value in email input box and leave that input box, an email verification call will be initiated by QuickEmailVerification JavaScript Widget and user will be shown appropriate message. If the email entered is not valid or acceptable, the widget will prevent form submission.