Integrating with Zapier
Getting Started
To connect the QuickEmailVerification app on Zapier, you will need a QuickEmailVerification API Key. So Sign Up on QuickEmailVerification if you have not an account already.
To integrate QuickEmailVerification with any other app available on Zapier, you will need to have a Zapier account. In case you do not have one, please create it.
After login to your Zapier account, use below link to find QuickEmailVerification app from Zapier. On the other hand you can also search QuickEmailVerification in the search box of Zapier apps page and select QuickEmailVerification from search result.
https://zapier.com/apps/quickemailverification/integrations
The following example zap is just to demonstrate the integration of QuickEmailVerification app using Zapier. Your own zap may be very different. You can simply create a zap to integrate QuickEmailVerification app with any other app available on Zapier. For this demonstration, we will make a two step zap to keep this example simple.
Create a New Zap
After logging into your Zapier account, click on Make a Zap! button to create a new zap. Give appropriate name to your new zap. For this demonstration, we'll name it QuickEmailVerification Zap.
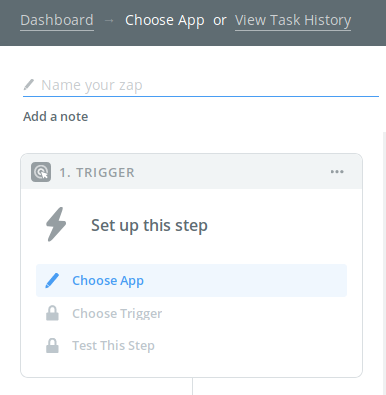
Setup A Trigger
To call the next action in workflow, every zap needs a trigger event. For this demonstration, we'll use Zapier's built-in application webhooks as trigger. In order to select a trigger app, enter Webhooks in the search box. Next, choose Webhooks by Zapier out of the result.

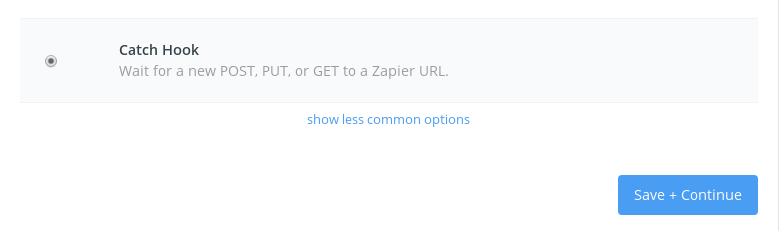
The next screen will show all available triggers of the Webhooks by Zapier app. Select Catch Hook and click Save + Continue button.
Pick off a Child Key is optional so we can skip it and click Continue button to proceed with the next steps. The next screen will provide you the webhook url to test the trigger. Copy that url and paste it in your new browser tab. Also append the query string ?email=user@domain.com (use your real email address) at the end of url so that the complete URL will be as below.
https://hooks.zapier.com/hooks/catch/1709045/10sx5p/?email=user@domain.com
Hit enter and execute your webhook url. You will receive a JSON response on success which would look like following.
{
  "status": "success",
  "attempt": "590958cc-05ad-450c-ad12-376c1180b5b0",
  "id": "9be0ddf8-ba83-4ee8-987e-79fda7565730",
  "request_id": "7D8zihDLqKPP7a1n"
}
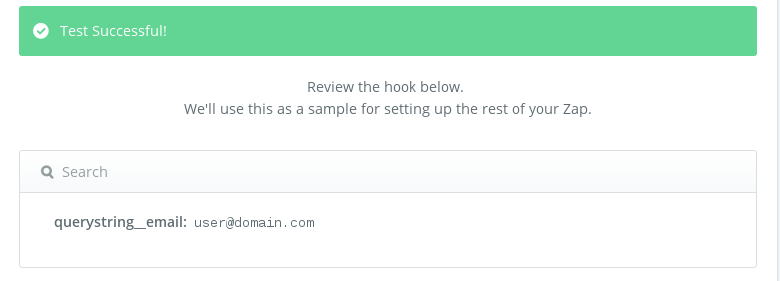
Go back to Webhooks test page on Zapier and click OK, I did this button. The next screen will show you the test result and allow you to view your hook. If you'd like to check if everything looks OK, click on view your hook.
Setup an Action
After setting up the trigger, actions can be taken based on the trigger event. To simplify the process, we will only use QuickEmailVerification app for this demonstration. Your real zap may have multiple actions as per your integration needs.
To set up an action, type in QuickEmailVerification in search box and select QuickEmailVerification app from the result.

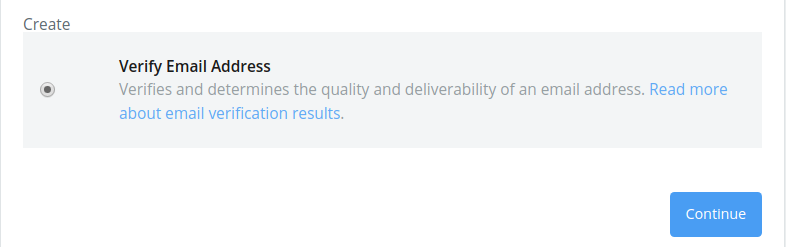
The next screen will show you the available action of QuickEmailVerification app. Current default action is Verify Email Address. Keep it selected and click Save + Continue button to proceed with next steps.
The next step will ask you to select your QuickEmailVerification account. Click Connect a new account button to set up a connection using QuickEmailVerification API key.
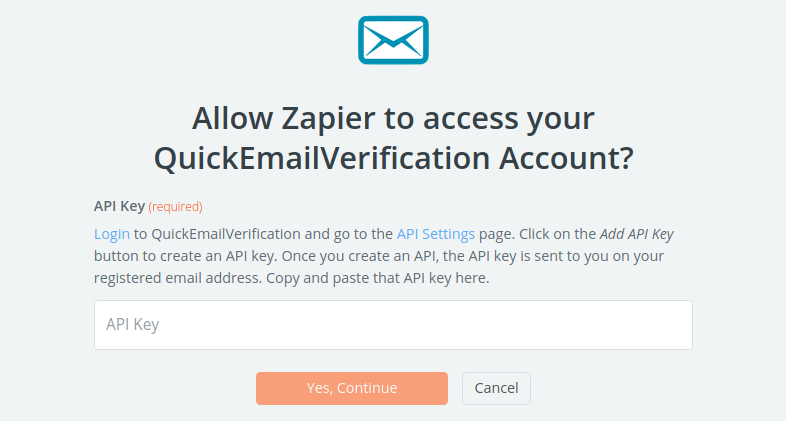
To get the API key, log in to your QuickEmailVerification account and navigate to API Settings page. If you have not generated an API key for your account yet, you may generate one by clicking Add API Key button. Once the API is created, you will see your API credentials on your screen. To view the API key already created, click on the Eye icon given besides your API.
Copy and paste that API key in Zapier window and click Yes, Continue button to allow access. Once done, you can test the connection for the new account, using Test button on the screen. Test the connection and then click Save + Continue button using Test button on the screen. Test the connection and then click Save + Continue button.
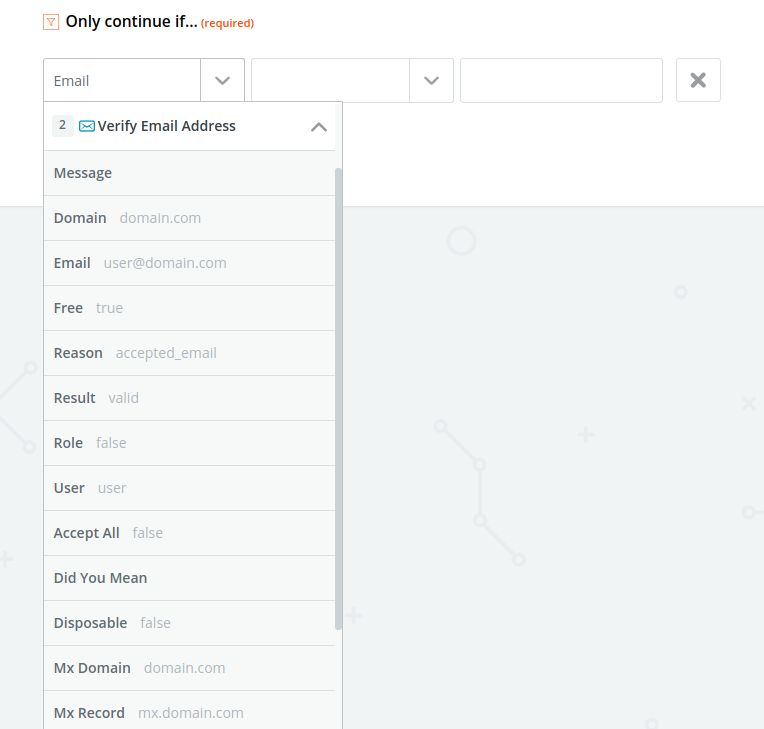
The next step, Set up QuickEmailVerification Result, will ask you to set a field that contains an email address to be verified. Click the square button on far right and select QueryString Email from the list and then click Continue.
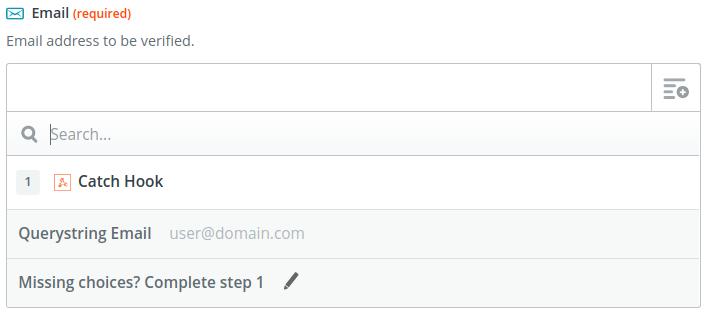
Since email is the required field for the QuickEmailVerification App, make sure that the trigger used for your zap provides it. Without the email QuickEmailVerification action will fail.
On the next screen, you can test the QuickEmailVerification action and create result. Click Create + Continue and view your result. When done, click Finish.
Setup a Filter (optional)
If you want to exclude certain verification results and take necessary action conditionally, you may use Zapier's built-in application "Filter by Zapier". This is optional step so you may skip it if your zap doesn't require filtering on result.
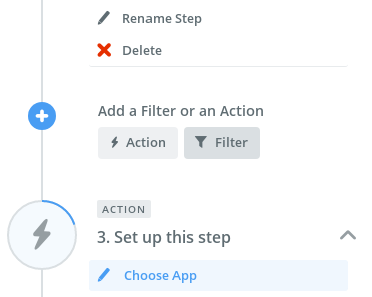
To add the filter, click plus sign inside the circle below the Action steps. This will add a new Action and small circle with plus sign just above the new Action section. Click that small circle with plus sign and select Filter.
Make sure the order of this filter is after the QuickEmailVerification Action since we want to apply filtering on the verification result. Incorrect order of the Filter step will not work and break your zap.
For the demonstration of this zap, we will set the filter which will pass the email address if the verification result is not invalid and email is not disposable.
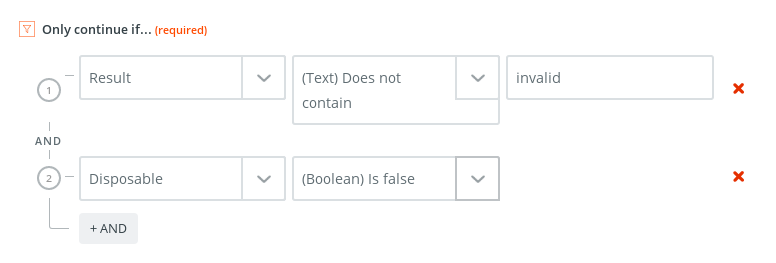
On the first step, Select Filter, there is only option Only continue if... with radio button selected. Keep it selected and click Save + Continue. On the next step of Filter set up, select Result from Verify Email Address in the first dropdown menu to apply filtering on verification result. Select (Text) Does not contain in second dropdown menu and then enter invalid on the third text box.
After that click +AND button, select Disposable from Verify Email Address in the first dropdown menu and select (Boolean) is false in the second dropdown menu. At the end, filter should look like below.
After setting up filters, click Continue. On the next screen, you can Test Filter. After testing, click Continue to complete the Filter setup process.
That's it
You see how just a few clicks got you through Zapier. The Zap remembers all the intermediate steps so your next query will be handled easily and swiftly.
From now on, whenever the Zapier webhook is called, QuickEmailVerification action will be triggered. You will see the verification results that pass the filters (if you have put any filters).
We are sure you'll be able to make the most of this integration. In case you need help, feel free to get in touch with us at support@quickemailverification.com. We'll be happy to help!