Integrating with Marketo
Getting Started
Integrating QuickEmailVerification with Marketo is a simple, one-time set-up. Once you have the QuickEmailVerification set up in Marketo, you will be able to use this agile and robust email verification service to verify email addresses in real time as they enter your Marketo database.
To connect QuickEmailVerification with Marketo, you will need a QuickEmailVerification account. If you haven't done so already, Sign Up on QuickEmailVerification and create your Free account before you get into this integration setting up process.
Create custom fields in Marketo
We will use Marketo's Webhook facility to integrate QuickEmailVerification API with Marketo for email verification. To store the QuickEmailVerification API result in Marketo, you will need to create some Custom Fields.
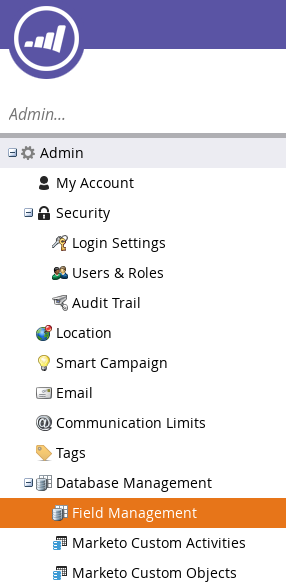
To create custom fields in Marketo, click on the Admin on the top bar of the screen. While on the Admin page, click on the Field Management option from the left.
Now, click the New Custom Field button on the Field Management page and you will be able to start creating new custom fields.
The following list contains all the required field names and their respective type. You may choose any name as the Field Name that is easy to identify later on. While creating field, the API Name will be populated automatically but for simplicity we will set it as following.
| Field Type | Field Name | API Name |
| string | QuickEmailVerification Result | QuickEmailVerificationResult |
| string | QuickEmailVerification Reason | QuickEmailVerificationReason |
| boolean | QuickEmailVerification Disposable | QuickEmailVerificationDisposable |
| boolean | QuickEmailVerification Accept All | QuickEmailVerificationAcceptAll |
| boolean | QuickEmailVerification Role | QuickEmailVerificationRole |
| boolean | QuickEmailVerification Free | QuickEmailVerificationFree |
| boolean | QuickEmailVerification Safe To Send | QuickEmailVerificationSafeToSend |
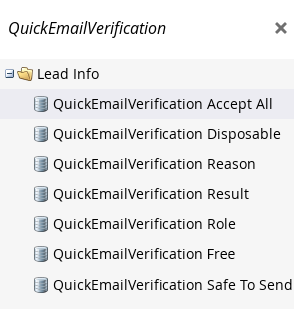
After you create fields as required, you can find all of them on the right side. Enter QuickEmailVerification into Search and you can see all these custom fields listed, as shown below.
Configure the Webhook
To configure the Webhook in Marketo for integrating the QuickEmailVerification API, you will need the QuickEmailVerification API key. So from here, you will need to switch to your QuickEmailVerification account and navigate to the API Settings page. If you have not created an API key already, click the Add API Key button to create the API key.
After creating the API key, copy it and head back to your Marketo account. Within your Marketo account, follow the steps given below to configure Webhook.
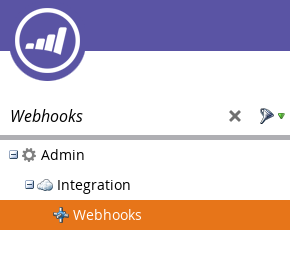
Click on Admin from the top bar again and select Webhooks from the left. While on the Webhook page, click the New Webhook button.
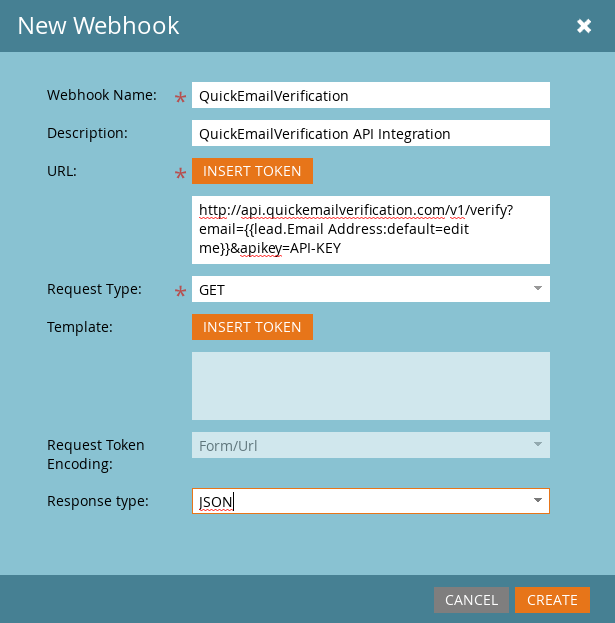
As shown above, fill in the required information to create a new webhook for email verification.
The Webhook Name and Description can be anything that helps you identify the purpose of the webhook later on. The URL, Request Type and Response Type must be same as following. Replace API-KEY in URL with the real API key generated in your QuickEmailVerification account.
- URL : http://api.quickemailverification.com/v1/verify?email={{lead.Email Address:default=edit me}}&apikey=API-KEY
- Request Type : GET
- Response Type : JSON
After filling in the required details, click on the CREATE button and you will see a Response Mappings section below the created webhook. Click on the Edit next to Response Mappings section and map the API response fields with the custom Marketo fields created in the previous step.
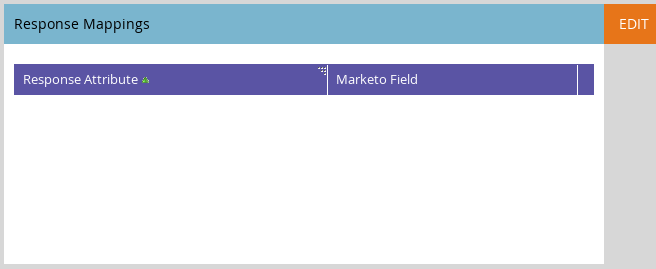
While on Edit Response Mapping page, click Add and map the Response Attribute with the Marketo Field as shown below.
| Response Attribute | Marketo Field |
| result | QuickEmailVerificationResult |
| reason | QuickEmailVerificationReason |
| disposable | QuickEmailVerificationDisposable |
| accept_all | QuickEmailVerificationAcceptAll |
| role | QuickEmailVerificationRole |
| free | QuickEmailVerificationFree |
| safe_to_send | QuickEmailVerificationSafeToSend |
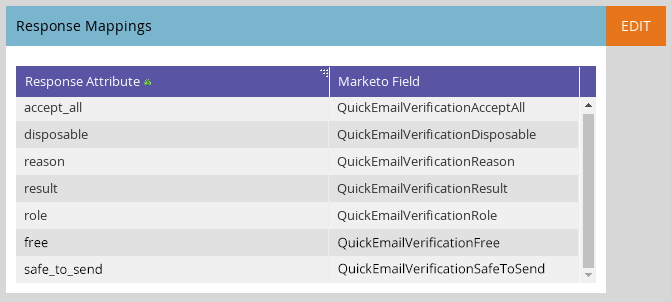
After mapping all above Response Attributes with respective Marketo Fields, click SAVE. Finally your Response Mappings section should look like this:
At this stage your Marketo account is ready to use Webhook for email verification.
For the demonstration of email verification within Marketo environment, we will create a landing page with web form for source of email. Your integration need not be the same as shown here.
Create the Form
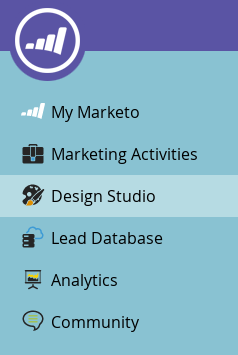
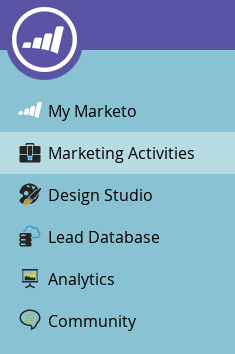
To create the form navigate to Design Studio page within your Marketo account.
Within the design studio page, click on New and then select New Form. Enter the required information and select the folder to save this form. Make sure you leave the Open in editor check box selected and click CREATE.

For this demonstration, we will use a simple and default form so just click FINISH and APPROVE & CLOSE in the opened editor window.
Create the Landing Page
Next we will create the landing page and use the Email Capture Form created above on the landing page.
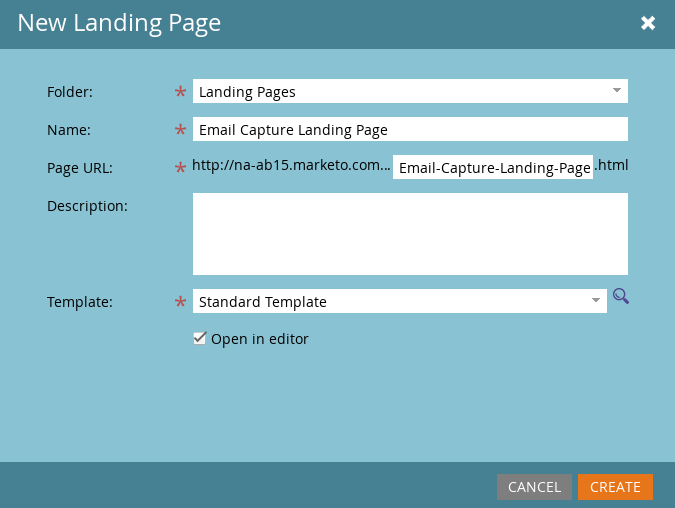
To create Landing Page, click on the New and then select New Landing Page within Design Studio page. Fill out the required information for this New Landing Page form. For this demonstration, we will name it Email Capture Landing Page. Select the Standard Template, leave the Open in editor check box selected and click CREATE.
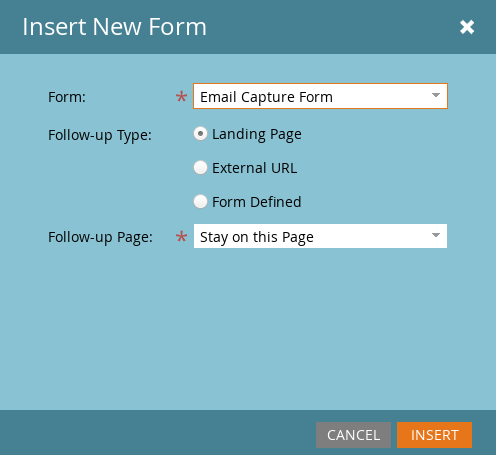
On the landing page editor, select the Form element from right side and drag & drop it to the centre designing area. New window will open for inserting the form on the landing page. Select Email Capture Form we created in the previous step, Landing Page for Follow-up Type and Stay on this Page for Follow-up Page option. Click the INSERT to add the form to your Email Capture Landing Page.
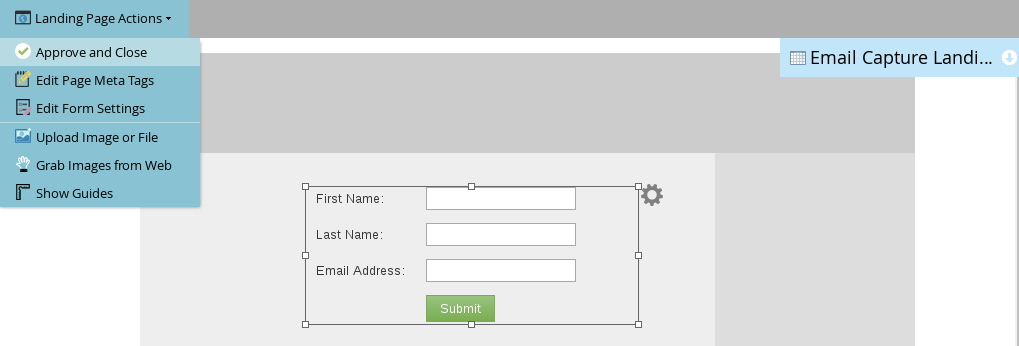
Next, select the Landing Page Actions menu at the top and click on the Approve and Close. Now your landing page is ready with email capture form so we can use it for testing.
Create the Smart Campaign
This is the final and the most important step of the integration workflow. The purpose of this step is to trigger the QuickEmailVerification Webhook we created earlier.
To create the Smart Campaign, navigate to Marketing Activities page within your Marketo account.
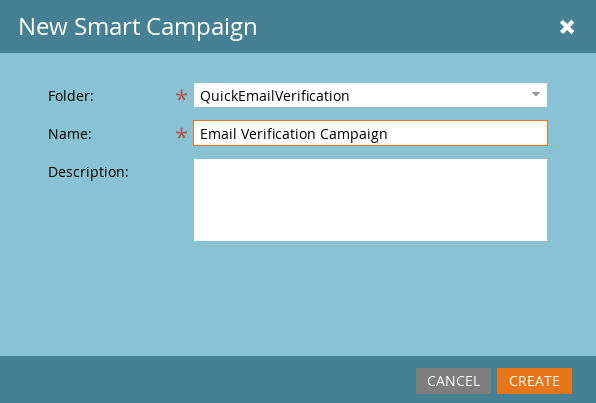
While on Marketing Activities page, click on the New button and then select New Smart Campaign. Fill out the required information and then click on the CREATE button.
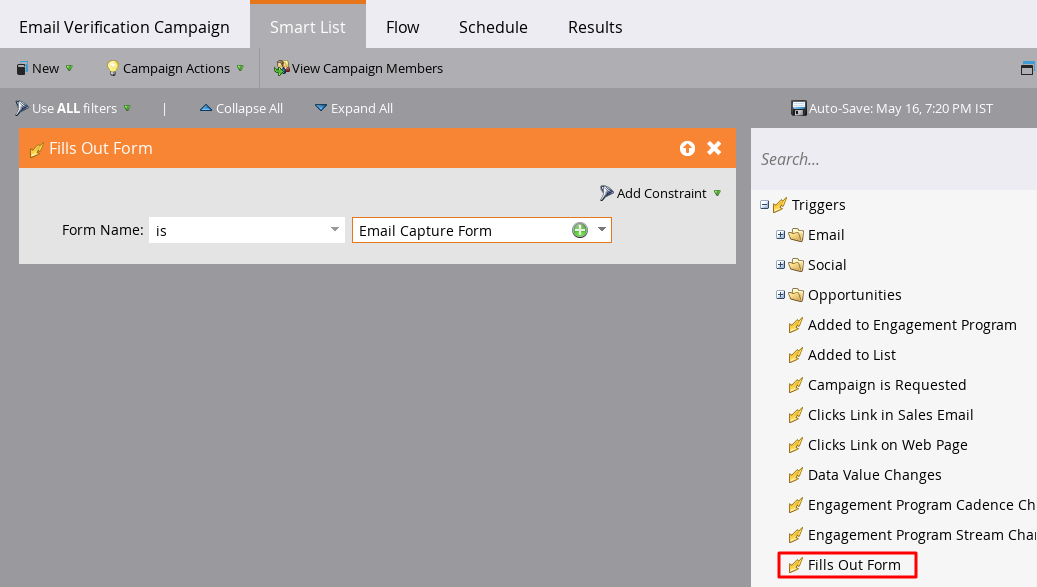
After creating the Smart Campaign, click on the Smart List tab from the top menu. Here we will set the trigger for the campaign. For this demonstration, select Fills Out Form trigger on the right-side menu and drag it to the canvas. Now select the Form Name which we created in the previous step.
Next, click on the Flow tab and set actions for this campaign. Here we will use Webhook call that will verify email address using QuickEmailVerification API. Type Call Webhook in the search field on the right side, then drag and drop it to the canvas. Now select the Webhook from the drop down options. Here, we will select QuickEmailVerification Webhook which we created in the previous step.

Following above Webhook, you may add other actions in the flow. For example, If you would like to segment your leads based on the verification result, you can place Add to List action to the flow after Webhook and Add Choice to filter leads based on your requirements.
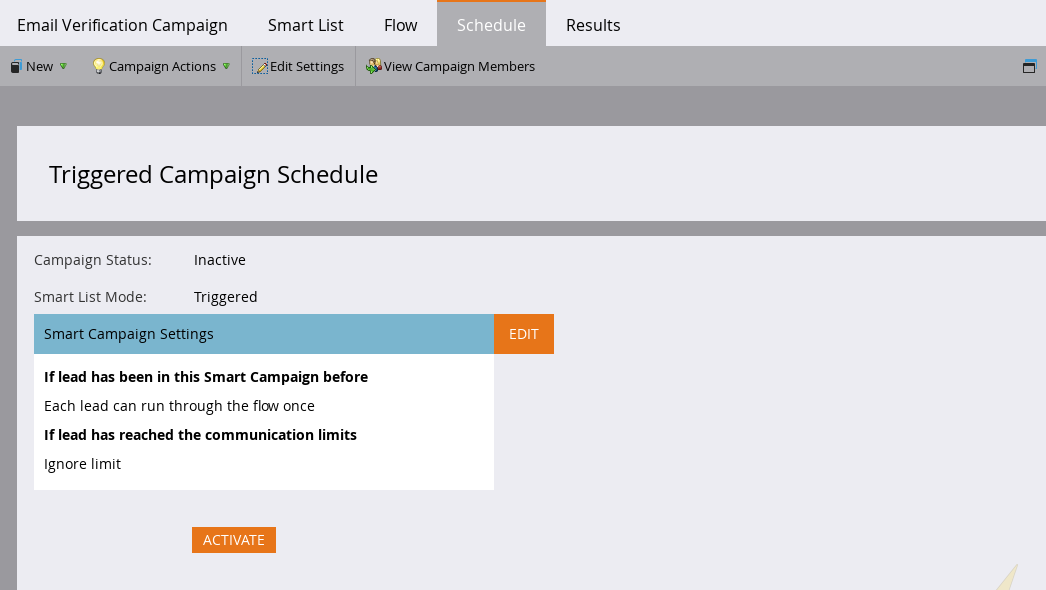
Next, click on the Schedule tab and click ACTIVATE button to activate smart campaign.
Let's Test it!
For this demonstration, we have created the Smart Campaign that will trigger the Webhook for email verification when Email Capture Form is filled out and submitted. So navigate again to Design Studio page and then select your previously created landing page from left. Here, you will find the URL of the landing page on the right.
Copy your landing page URL and open it in new browser tab. Fill out the lead form and click submit. This will add new lead into your Marketo Database after executing Smart Campaign, so Email Verification will be performed via Webhook.
Now go to your Lead Database and check your list. You will find this new lead and custom fields will be populated with Email Verification result from QuickEmailVerification API.