Integrating with Autopilot
Getting Started
With this document, we'll help you integrate your QuickEmailVerification account with Autopilot.
To use this integration you'll need:
- Your QuickEmailVerification account credentials
- Your Autopilot account credentials
Don’t worry if you don't have a QuickEmailVerification account; just click here for signup and enjoy the benefits of 100 free email verification credits daily.
When you are ready with your credentials, you are all set to begin.
Connect with Autopilot
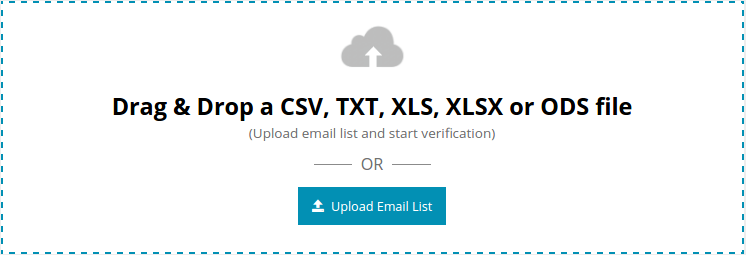
Enter your credentials and login into your QuickEmailVerification account. Click on Upload Email List button.
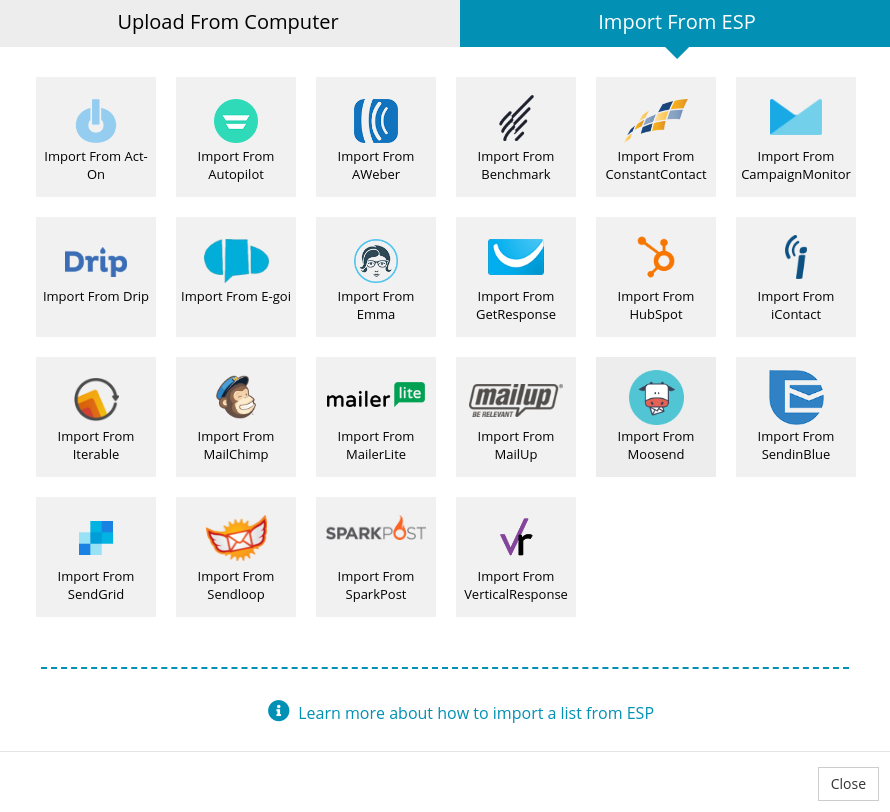
Now you'll see two tabs on your screen
- Upload From Computer
- Import From ESP
Since you will be importing the Subscriber List from your Autopilot account, click on the tab Import From ESP.
You will see on the next screen a list all our ESP integration partners. Click on Import from Autopilot.
Next screen will ask you to enter your Autopilot credentials. Enter your API key and click Connect.
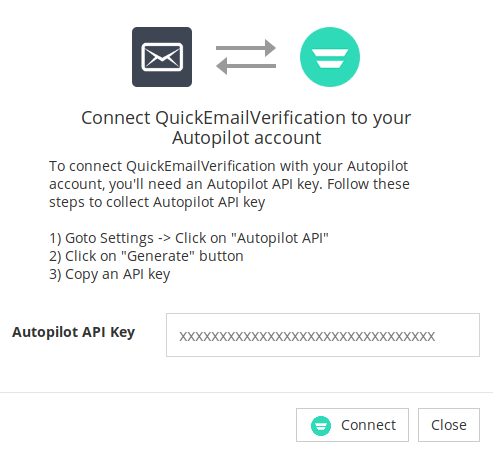
We take privacy of your data very seriously. QuickEmailVerification does not save your Autopilot credentials.
Import List from Autopilot
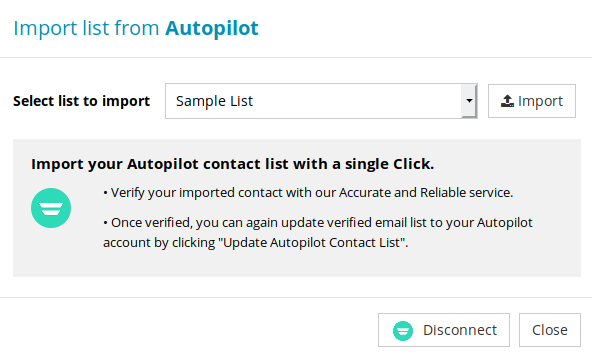
After signing up, you can access your Autopilot account.
You will see the following screen with the drop down menu of contact list. Select a contact list which you want to verify. After appropriate selection, click Import.
The Subscriber List is now imported and ready for verification process. To start the verification process, click on the Start button.

The verification process will take time, depending upon how big is your contact list.
You can logout from your QuickEmailVerification account and go for other activity while the verification process is going on. It will not effect the verification process in any way.
Updating Autopilot List
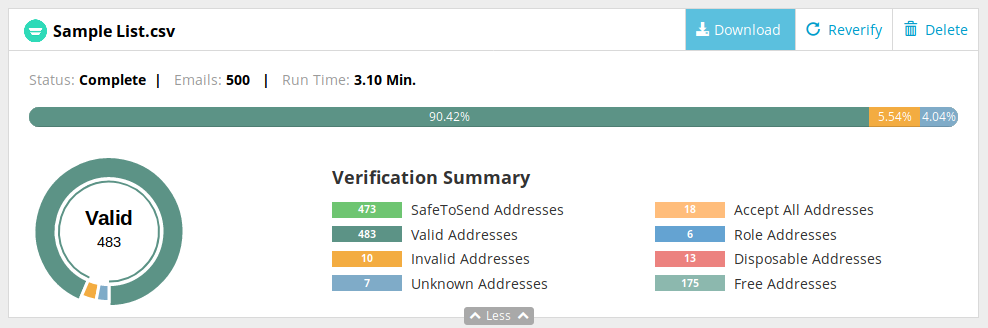
Once the list has been cleaned, you will be notified by an email saying that your list is verified and ready for update process.
If you had logged out from your QuickEmailVerification account then you need to log in again.
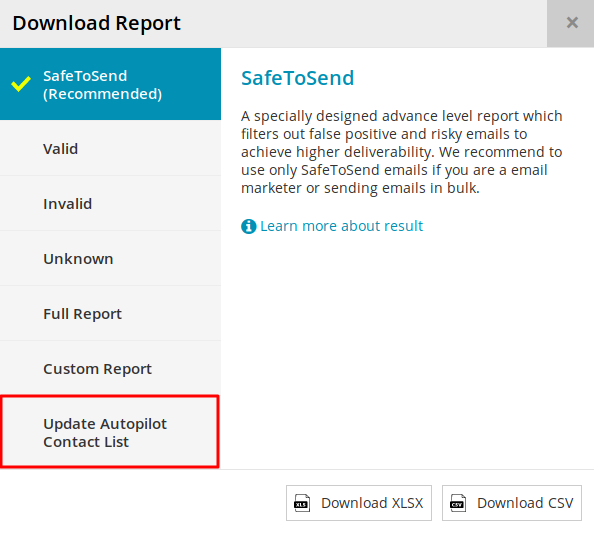
After login you can see that your contact list is verified and there's a button titled Download. Click on that button.
A download modal will open. Select Update Autopilot Contact List for update your list.
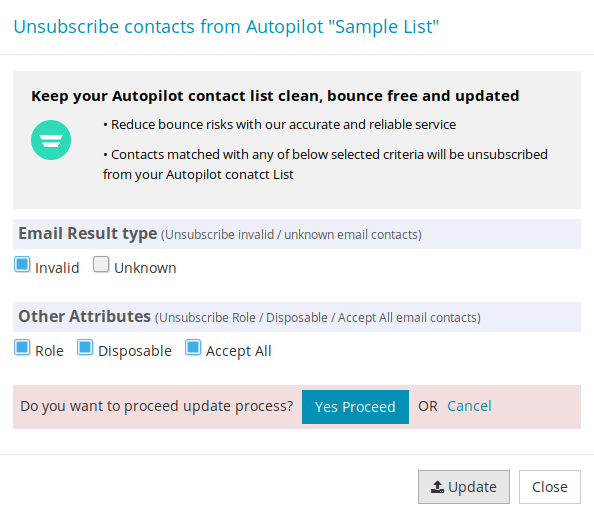
This step is very important. Here you can decide that which type of emails you don't want to keep in your updated contact list.
You will see five checkboxes : Invalid, Unknown, Role, Disposable and Accept All. Some of them are default checked. When a checkbox is checked it means that type of emails will be removed from your updated contact list.
You are free to check/uncheck checkboxes as per your requirement. But we suggest you do not make any changes here.
As per your selection, an email addresses associated with the checked checkboxes will no longer receive your Autopilot campaign emails.
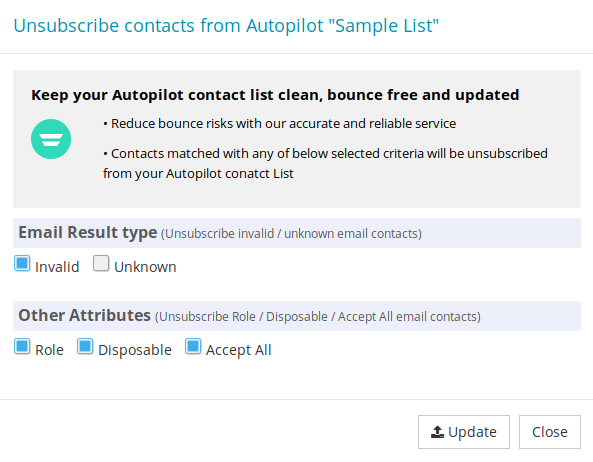
After you click Update, you'll be asked to confirm your action. Click Yes Proceed.
Once the list has been updated, you will be notified by an email saying that your contact list is updated and ready for use.
That's it!
You can see that in a few quick and simple step you can get an updated list. That updated list may be used for your future campaigns. It will decrease bounce rate and increase email deliverability.
In case you face any problems while integration, send us an email at support@quickemailverification.com and we'll happily assist you!