Integrating with Infusionsoft
Getting Started
QuickEmailVerification and Infusionsoft integration is a one-time set-up. You just need to set Zap into Zapier account. After that, it will automatically verify emails of new contacts being added in your Infusionsoft account using QuickEmailVerification and store verification results with contact details in your Infusionsoft account.
For this integration you will need :
- Account credentials of QuickEmailVerification
- Credentials of your Infusionsoft account
- Credentials of your Zapier account
While setting up a Zap, to connect your QuickEmailVerification account to Zapier, you will need a QuickEmailVerification API Key. If you don't have an QuickEmailVerification account then click here and create it. Also if you do not have a Zapier account, please create it.
First login to your Zapier account, use below link to find QuickEmailVerification app from Zapier. On the other hand you can also search QuickEmailVerification in the search box of Zapier apps page and select QuickEmailVerification from search result.
https://zapier.com/apps/quickemailverification/integrations
Now, you are ready to get started.
Create custom fields in Infusionsoft
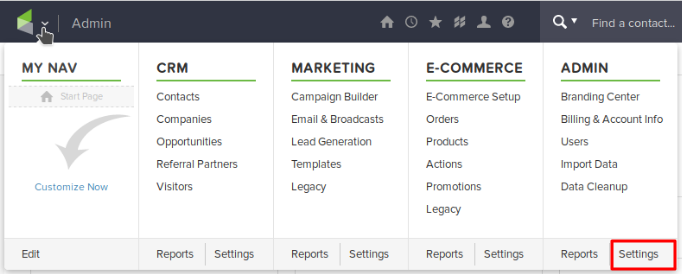
To update your contacts, you need to add custom fields into your Infusionsoft account. So login into your Infusionsoft account. Go to Admin -> Settings.
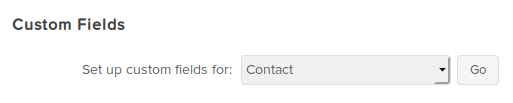
You can see Custom Fields option. Select Contact option from the drop down menu and click Go button.
In the next window, select Field option from the drop down menu and click Add button. Now you will be able to start creating new custom fields.
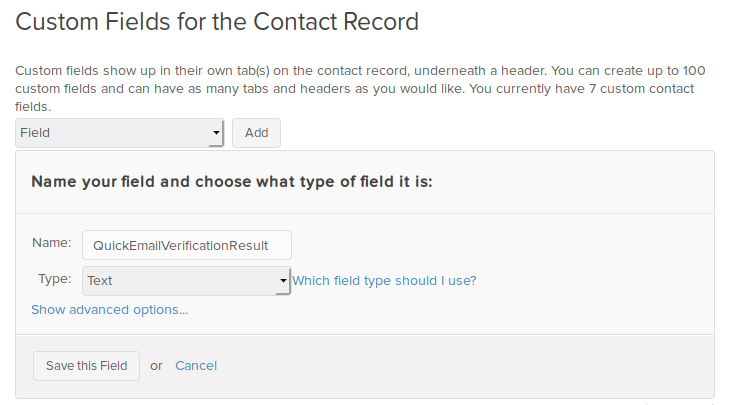
Here is the list of fields we need to create in order to store the contact's email address verification results returned by QuickEmailVerification API.
| Field Name | Field Type |
| QuickEmailVerificationResult | text |
| QuickEmailVerificationReason | text |
| QuickEmailVerificationDisposable | text |
| QuickEmailVerificationAcceptAll | text |
| QuickEmailVerificationRole | text |
| QuickEmailVerificationFree | text |
| QuickEmailVerificationSafeToSend | text |
Once the custom fields are created, they will be available with every contact you create in future. These custom fields can be viewed under Custom Fields tab of contact detail page.
Create a New Zap
Now it's time to create a Zap which will help integrating QuickEmailVerification with Infusionsoft. Please login to your Zapier account and click on Make a Zap! button to create a new Zap. Give appropriate name to your new Zap. For this demonstration, we'll name it Infusionsoft-QuickEmailVerification Zap.
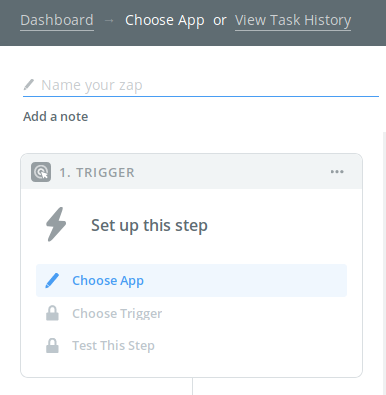
Setup A Trigger
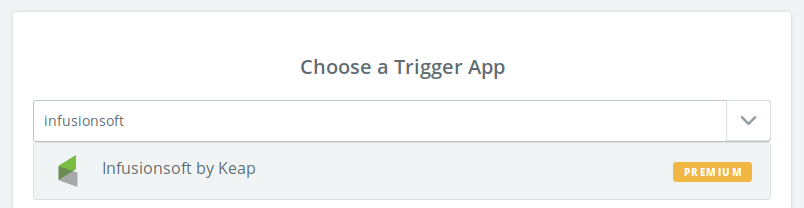
After creating Zap, the next step is to set up a trigger event. Select Infusionsoft by Keap from Choose a Trigger App drop down.
The next screen will show you all the available triggers of the Infusionsoft by Keap app. From them select New Contact and click Save + Continue button.

Now, you need to connect your Infusionsoft account with Zapier. Click Connect an Account button. Enter your Infusionsoft credentials. The next screen will ask you for account access. Click on Allow button.
Click the Test button to check the new account connection. Once testing process is successfully completed you will see the Success button. Click Continue button.
After that you need to pick one contact for verification process and click Continue button.
Setup an Action
After successfully setting up the trigger, it's time to configure Action step. Zapier will perform this action whenever New Contact is triggered.
To set up an action, type in QuickEmailVerification in search box and select QuickEmailVerification app from the result.

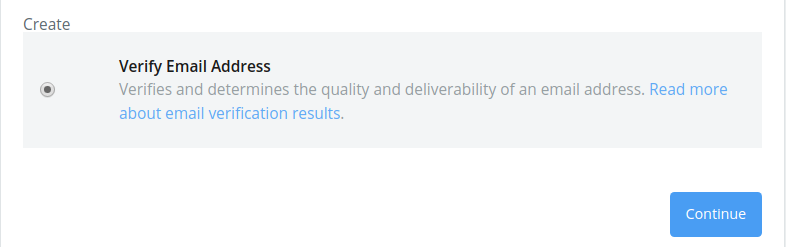
The next screen will show you the available action of QuickEmailVerification app. The current default action is Verify Email Address. Keep it selected and click Save + Continue button to proceed with next steps.
The next step will ask you to select your QuickEmailVerification account. Click Connect an Account button to set up a connection using QuickEmailVerification API key.
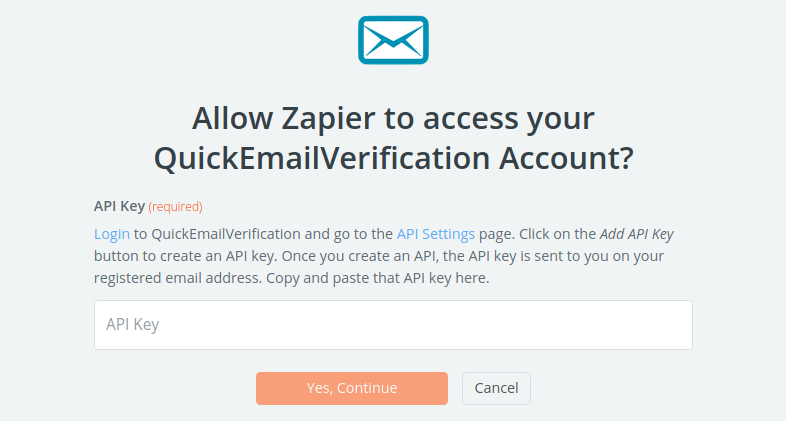
To get the QuickEmailVerification API key, login to your QuickEmailVerification account and navigate to API Settings page. If you have not generated an API key for your account already, generate one by clicking Add API Key button. Once the API is created, you will see your API credentials on the screen. For APIs already created, click the Eye icon to see the API key again on the screen. Please copy the API key, paste it in the Zapier window and click Yes, Continue button to allow access. Once done, you can test the connection for a new account using Test button on the screen. Once the test is completed, click Continue button.
The next step is to set an email field of new contact. This step will tell Zapier to pick the email field of contact to be added and verify it using QuickEmailVerification API. When you click on the right square button, you will see many options in the dropdown menu. From these options, select Email and click Continue.
Since email is the required field for the QuickEmailVerification App, make sure you select "Email" of the "New Contact" to be added in Infusionsoft in this step. Without the email QuickEmailVerification action will fail.
It will perform a sample test and show you the result of that test. Verify the test results. If required, you can also click Re-test This Step to perform a new test. Click Continue once the result is verified.
Create/Update Contact
Now we need to add another step to our Zap to store the email verification result with our new contact. Click on the + Add a Step option given on the left side of Zapier window. Under Choose an Action App, search Infusionsoft by Keap and click Infusionsoft by Keap from the search result.
The next screen will show all the available CREATE and SEARCH actions of the Infusionsoft by Keap app. From them select Create/Update Contact option and click Continue button.

Select an Infusionsoft by Keap account from the connected account list and click Continue.
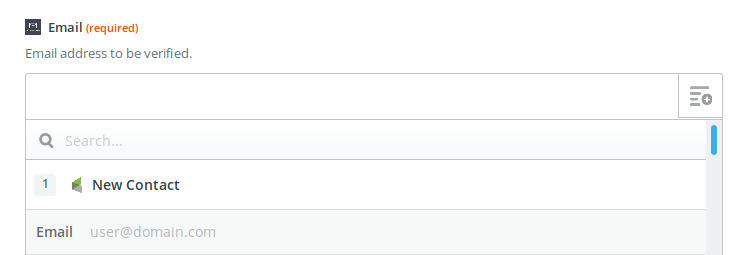
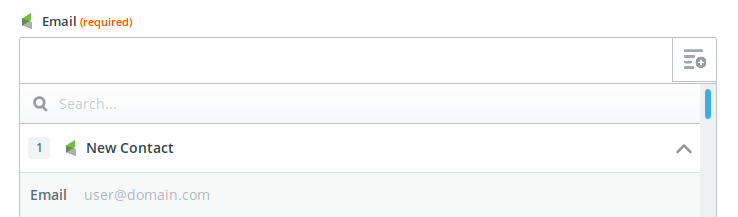
The next step will inform you how to update the contact added in Infusionsoft account and append the email verification result with it. Click right corner of email field and you can see two options : New Contact and Verify Email Address. Click on New Contact and it will open a drop down list, and select Email from it.
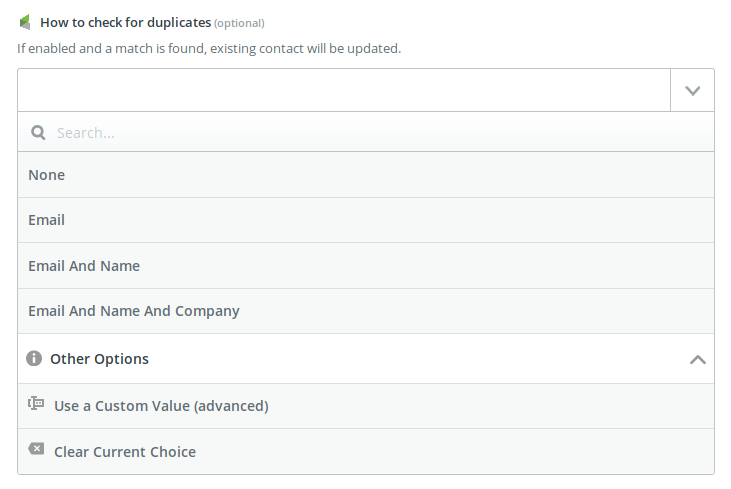
To map email verification result with new contact, we need to tell Zapier the contact field to use to update the contact. Click on the arrow icon given on the right side of How To Check For Duplicate option and select Email from drop down menu.
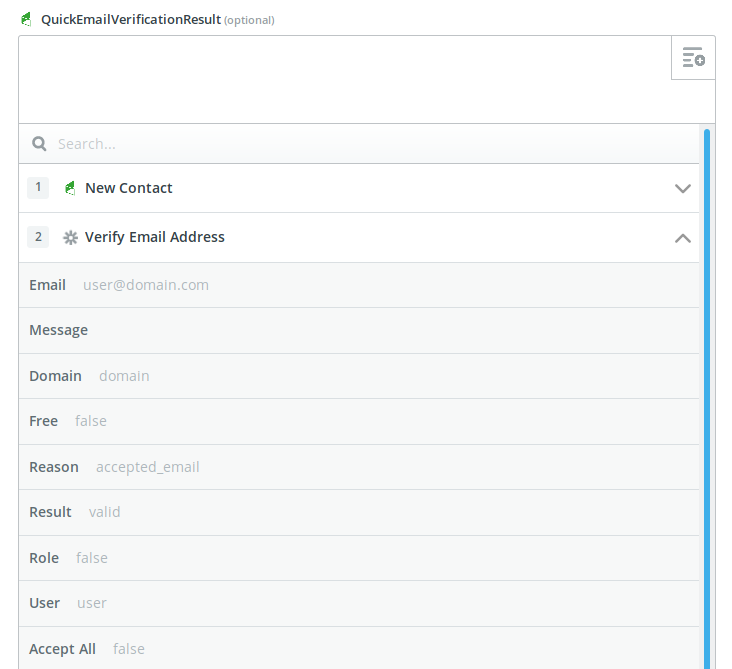
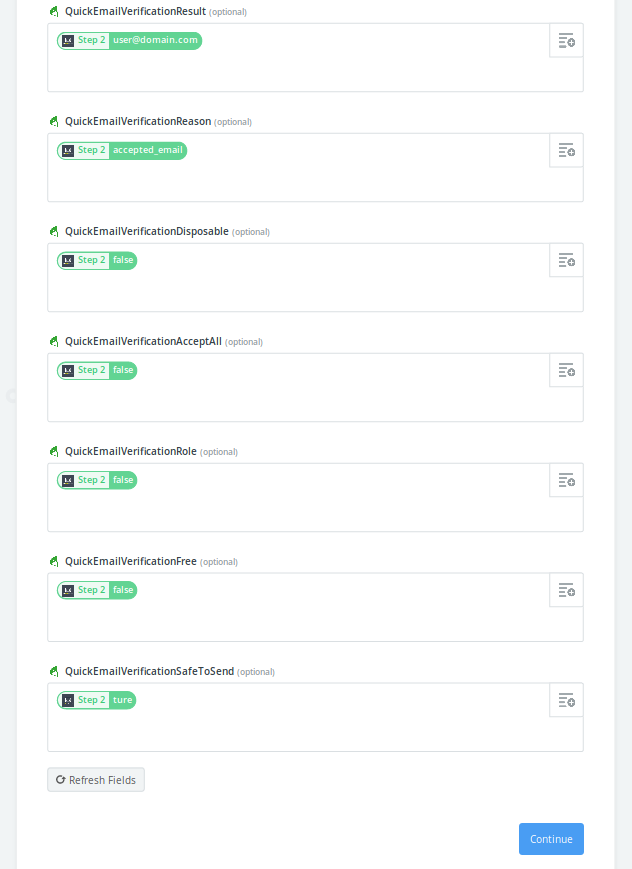
Scroll down the page and you can see custom fields which were added previously (if you can't see them, click on Refresh Fields button). Let's see how to map verification result info with each of the custom fields. To store result field of verification result in QuickEmailVerificationResult custom field, click on the + sign shown on the right side of the input field and select Verify Email Address. It will open up list of verification result fields. Select Result from it.
After performing these mapping steps for each custom field click, Continue.
In the next screen, you will be prompted to test your action setup and finish the Zap. Verity the test results and click on Finish button. Clicking on Finish button will ask you to turn ON your Zap. Toggle the ON/OFF button to activate your Zap.
That's it
It's done! Now adding new contacts in your Infusionsoft account will automatically get verified using QuickEmailVerification API and according result will be appended with the contact.
If you have any query, feel free to contact us at support@quickemailverification.com.