Integrating with HubSpot
Getting Started
To use this integration, you'll need
- Your Account credentials of QuickEmailVerification
- Your Account credentials of HubSpot
In case you don't have a QuickEmailVerification account, you can create a free account here and get daily 100 credits free.
Connect with HubSpot
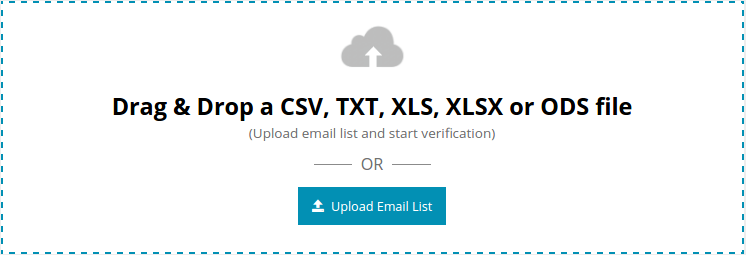
First, log into your QuickEmailVerification account. After logging in you will see the following screen. Click the Upload Email List button.
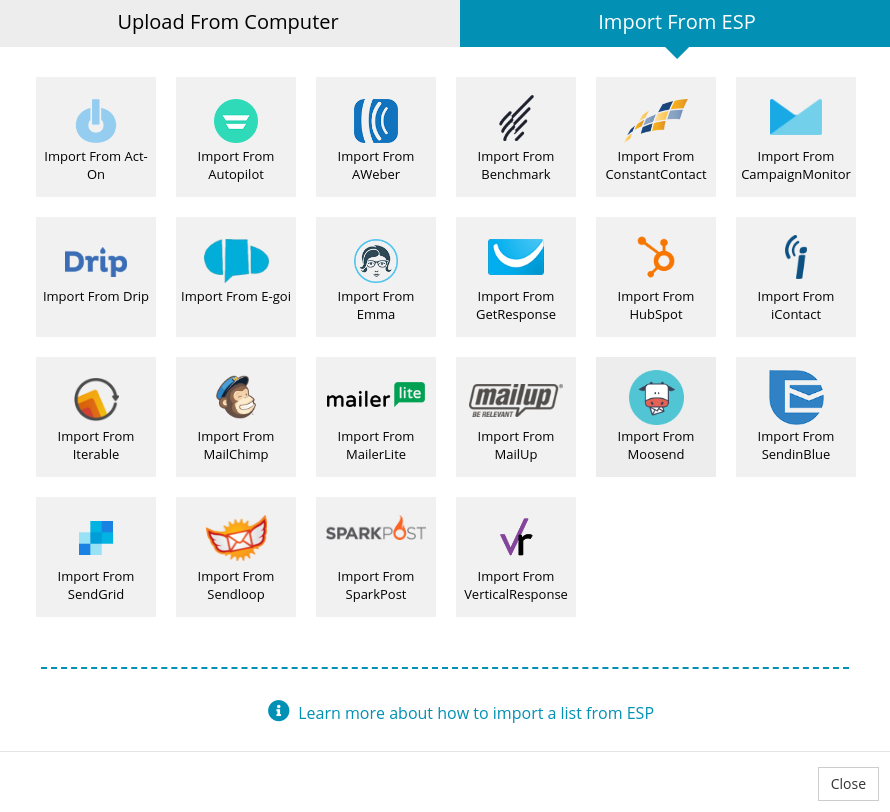
You'll find the following two tabs on the next screen :
- Upload From Computer
- Import From ESP
Because you are going to import your contact list from HubSpot, click on Import From ESP. On the next screen you'll see all the ESPs we've partnered with.
Select Import From HubSpot.
Next, enter your HubSpot credentials to proceed.
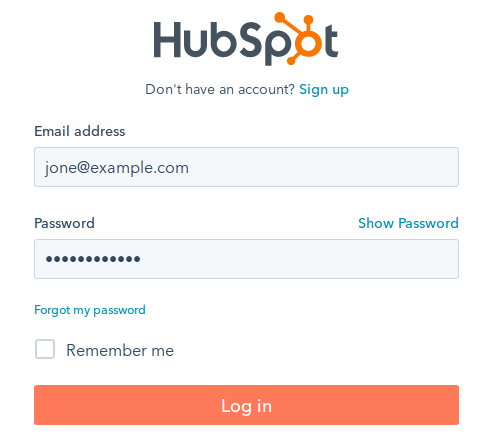
We respect your privacy. QuickEmailVerification does not store your HubSpot account credentials. These details are only accessible by HubSpot itself.
Import Contact List from HubSpot
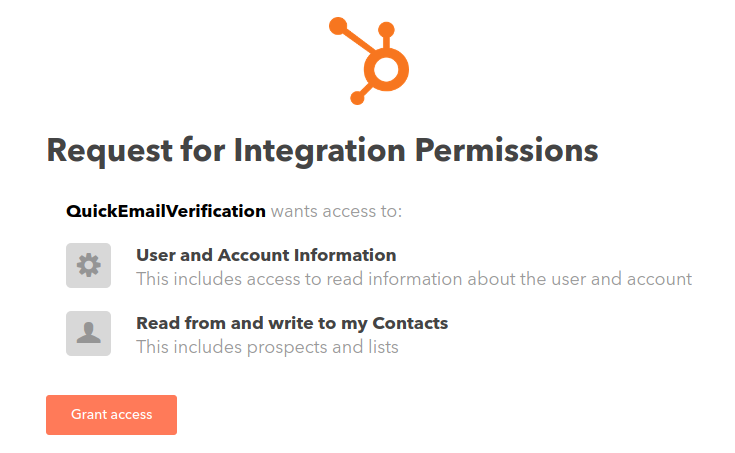
After you log into your HubSpot account, the next screen will ask you to grant access to QuickEmailVerification. Click Grant access. This access enables QuickEmailVerification to import your contact list.
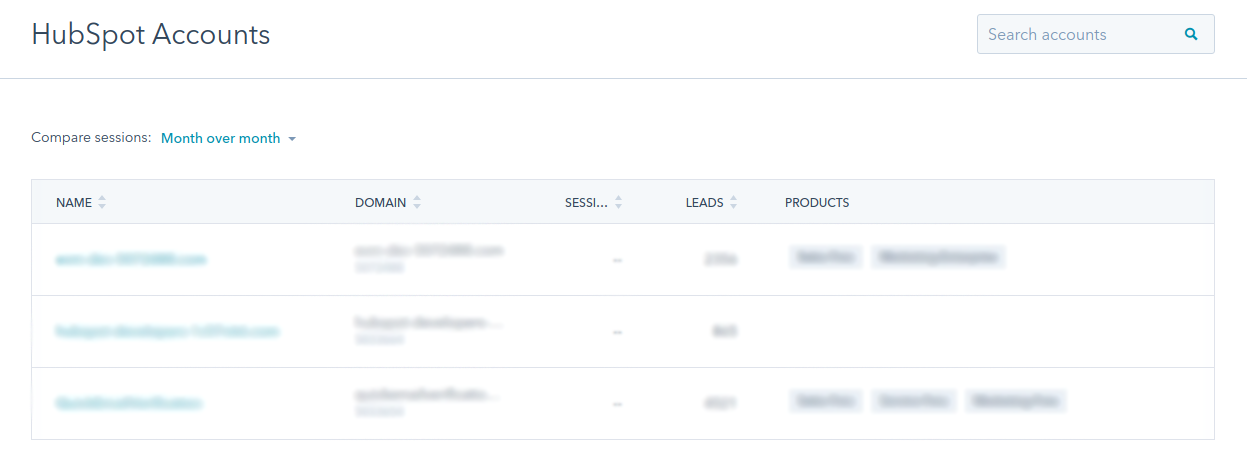
After that you'll see the following screen. Select an account from which you want to import list for verification.
The next step is to import the contact list that you wish to get cleaned. From the drop down menu of contact list, select the appropriate contact list and click Import.
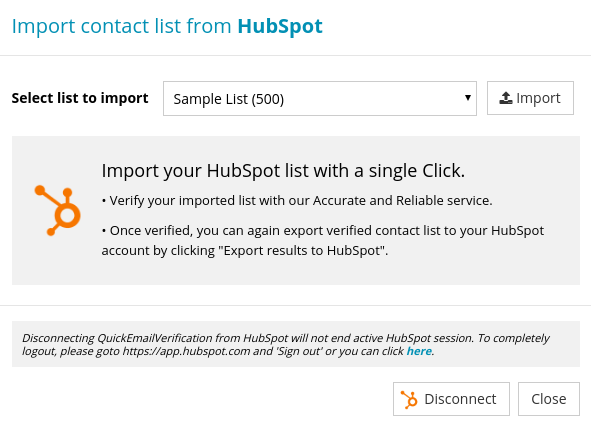
The moment you click Import, your email list is ready for verification. Click Start to begin the verification process.

Depending on the size of contact list, verification process will take upto a few minutes to complete.
Note that at this stage, you are free to logout and carry out any other activity. Your logging out will not impact the verification going on.
Export results to HubSpot
When our verification process has cleaned your list, you will receive an email saying the list is clean and ready for download. With this, the list is ready for the next step.
If you had logged out after clicking on Start, you'll need to login again before you reach this window.
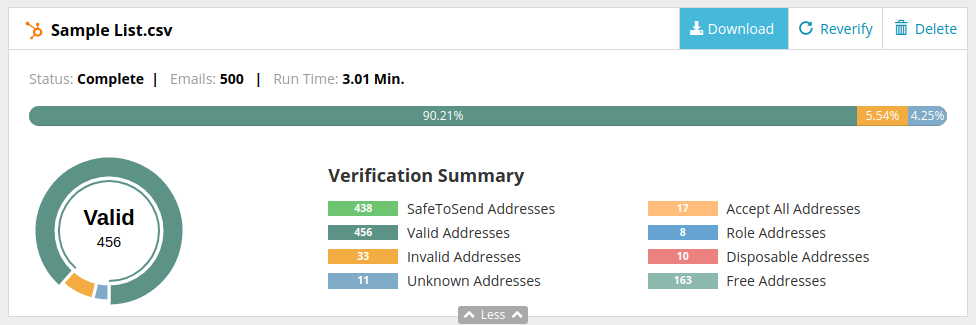
In your QuickEmailVerification account, along with the verification result summary, you'll notice the Download button next to the cleaned list. Click on Download.
You will see a modal box with different options. Select Export results to HubSpot option from modal box.
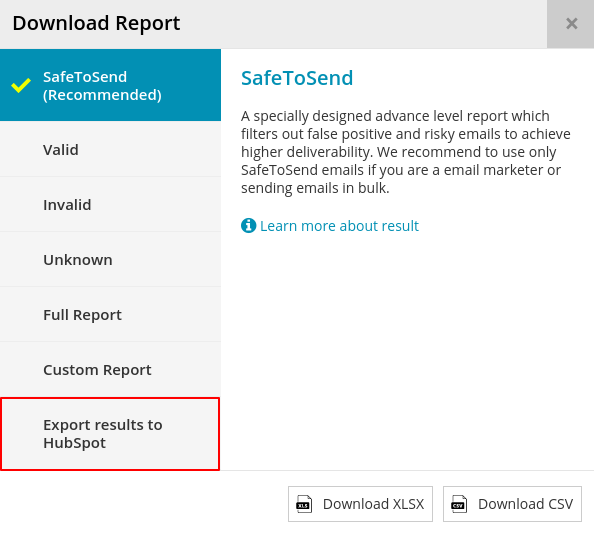
Now you are at an important stage. Here you can decide which emails you'd like to add into the newly created contact list.
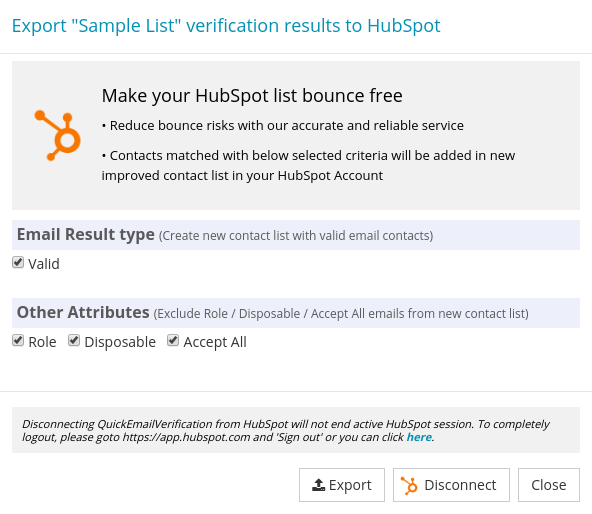
Of the many checkboxes you see, some checkboxes are already checked by default.
The first section of the window shows the email addresses that are safe to send. Email addresses corresponding to this checkbox will enter the new contact list. Make sure this box is checked.
The second section of the window shows email addresses that are classified as Role, Disposable and so on. You don't want these email addresses to get into your new contact list. If you uncheck a box, email addresses associated with that box will enter your new contact list. We recommend you keep the boxes checked so that these email addresses do not enter your new contact list.
Please note that when you export the HubSpot list from our service, we create a new improved contact list that will contain emails which you have selected to export. Your original list will remain unchanged.
Click on Export. It will ask for final confirmation, so click Yes Proceed and confirm your action.
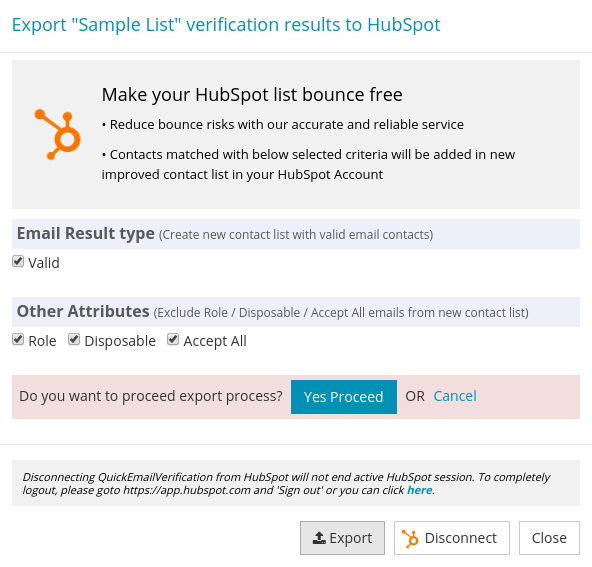
After your confirmation, the system will begin creating a new contact list as per your choices. At this stage, you'll receive another email telling you a new contact list has been created.
That's it!
You're done! You've just created a new contact list that's safe to send and will help you better achieve your objectives. That's because the new contact list is cleaned and has increased deliverability of your emails.
You can see that the process is very simple and quick. In case you need help please don't hesitate to contact us at support@quickemailverification.com. We'll be happy to assist you!